I've recently been working on various projects for Mini Micro, and for the latest one, I decided to do the programming in Visual Studio Code. It's been a pretty great experience so far with the minor exception of the number of steps I have to take to test the progress in Mini Micro.
I'm quite lazy, and having to launch Mini Micro, possibly reset, load the file, and then run it, is more than I'd ideally like to do each time. As a solution, I turned to AutoHotkey to set up a shortcut.
The AutoHotkey Script
All the files are available here: https://github.com/maxkratt/launch-in-minimicro
AutoHotkey is only available for Windows, however.
Below is the AutoHotkey script I've made to use in conjunction with a VSCode user task. The script expects some launch arguments such as the locations of Mini Micro and the MiniScript file to run. With that information it opens or switches to an open instance of Mini Micro and then enters the "reset", "load", and finally "run" commands. All that information is given to the script automatically from the user task.
; LaunchInMiniMicro - this script tries to launch or switch to Mini Micro and then send the commands
; to reset, load a file, and then run it.

; The first argument needs to be the path to a folder you have mounted in Mini Micro.
; In Visual Studio Code, ${workspaceFolder} can be used to pass in the workspace folder.
; The second argument should be the path to the file you want to open.
; In Visual Studio Code, ${file} can be used to pass the path to the current file.
; The third argument must be the path to Mini Micro.
; The fourth argument is optional and can be used to pass launch arguments to Mini Micro when opening it.
; When using VSCode, it is recommended to automatically mount either the usr or usr2 folder. Here are some
; example launch arguments for Mini Micro: "-scale 1 -screen-fullscreen 1 -usr2 ${workspaceFolder}"
; The fifth argument is also optional and it lets you choose which disk to look in, for example: /usr2

#NoEnv  ; Recommended for performance and compatibility with future AutoHotkey releases.
SendMode Input  ; Recommended for new scripts due to its superior speed and reliability.

; Alert the user if he doesn't provide the first three required launch arguments.
folderPath = %1%
fullPath = %2%
miniMicroPath = %3%
disk = %5%
if (folderPath == "")
{
    MsgBox % "You must provide the path to the folder you have mounted in Mini Micro as the first launch argument."
    ExitApp, 1
}
if (fullPath == "")
{
    MsgBox % "You must provide the path to the file you want to launch in Mini Micro as the second launch argument."
    ExitApp, 1
}
if (miniMicroPath == "")
{
    MsgBox % "You must provide the path to Mini Micro as the third launch argument."
    ExitApp, 1
}
; If the fifth argument is empty, try to load the file from the first user disk.
if (disk == "")
{
    disk = /usr
}

; Launch Mini Micro if it isn't open, otherwise switch to it.
Process, Exist, Mini Micro.exe
if (ErrorLevel == 0)
{
    Run, "%miniMicroPath%" %4%
}
else
{
    WinActivate, Mini Micro
}

; Wait until the Mini Micro window is active.
WinWaitActive, Mini Micro
; Find the path to the file in Mini Micro by using the file path and folder path.
filePath := StrReplace(fullPath, folderPath)
filePath := StrReplace(filePath, "\", "/")

; Send the reset command and then the load file and run commands.
Send, reset{enter}load "%disk%%filePath%"{enter}run{enter}
With AutoHotkey installed you can use the script as a saved .ahk file somewhere on your computer. I have also compiled the script into an executable file that can be used without AutoHotkey.
The VSCode Task
The second part of the setup is the VSCode user task. Its job is to run the AutoHotkey script (or executable) and feed it the information needed to find Mini Micro and the MiniScript file.
It can also be used to set launch arguments for Mini Micro, such as which folder to mount automatically, or whether to run in full-screen mode.
{
    "label": "Launch in MiniMicro",
    "type": "shell",
    "command": "C:\\Program Files\\MiniMicro\\LaunchInMiniMicro.exe",
    "isBackground": true,
    "icon": {
        "color": "terminal.ansiYellow",
        "id": "vm-running"
    },
    "args": [
        "${workspaceFolder}",
        "${file}",
        "C:\\Program Files\\MiniMicro\\Mini Micro.exe",
        "-usr2 ${workspaceFolder}",
        "/usr2"
    ],
    "presentation": {
        "echo": true,
        "reveal": "silent",
        "focus": false,
        "panel": "shared",
        "showReuseMessage": true,
        "clear": false
    },
    "problemMatcher": []
}
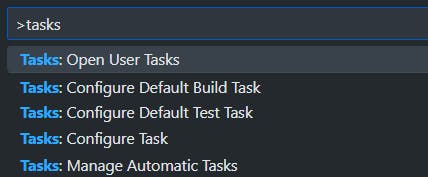
This can be added to your VSCode "tasks.json" file, which can be easily opened through the VSCode command palette.

There are two important lines to customize here:
The following line should be set to the path to the saved AutoHotkey script or executable file that was given earlier.
"command": "C:\\Program Files\\MiniMicro\\LaunchInMiniMicro.ahk",And this line should be set to the path to Mini Micro.
"C:\\Program Files\\MiniMicro\\Mini Micro.exe",
Note: You will have to use two backslashes instead of one for the path separators.
Additionally, these other lines can be used for further customization.
"-usr ${workspaceFolder}",
This line holds the launch arguments for Mini Micro, it is currently telling Mini Micro to mount the VSCode workspace folder as the user disc.
Here is another example of the settings to open Mini Micro in fullscreen, as well as mount the folder into the second user disc instead.
"args": [
"${workspaceFolder}",
"${file}",
"C:\Program Files\MiniMicro\Mini Micro.exe",
"-usr2 ${workspaceFolder} -screen-fullscreen 1",
"/usr2"
],
The line "/usr2", tells Mini Micro to search in the second user disc when looking for the file to run. It is only needed when mounting from the second user disk.
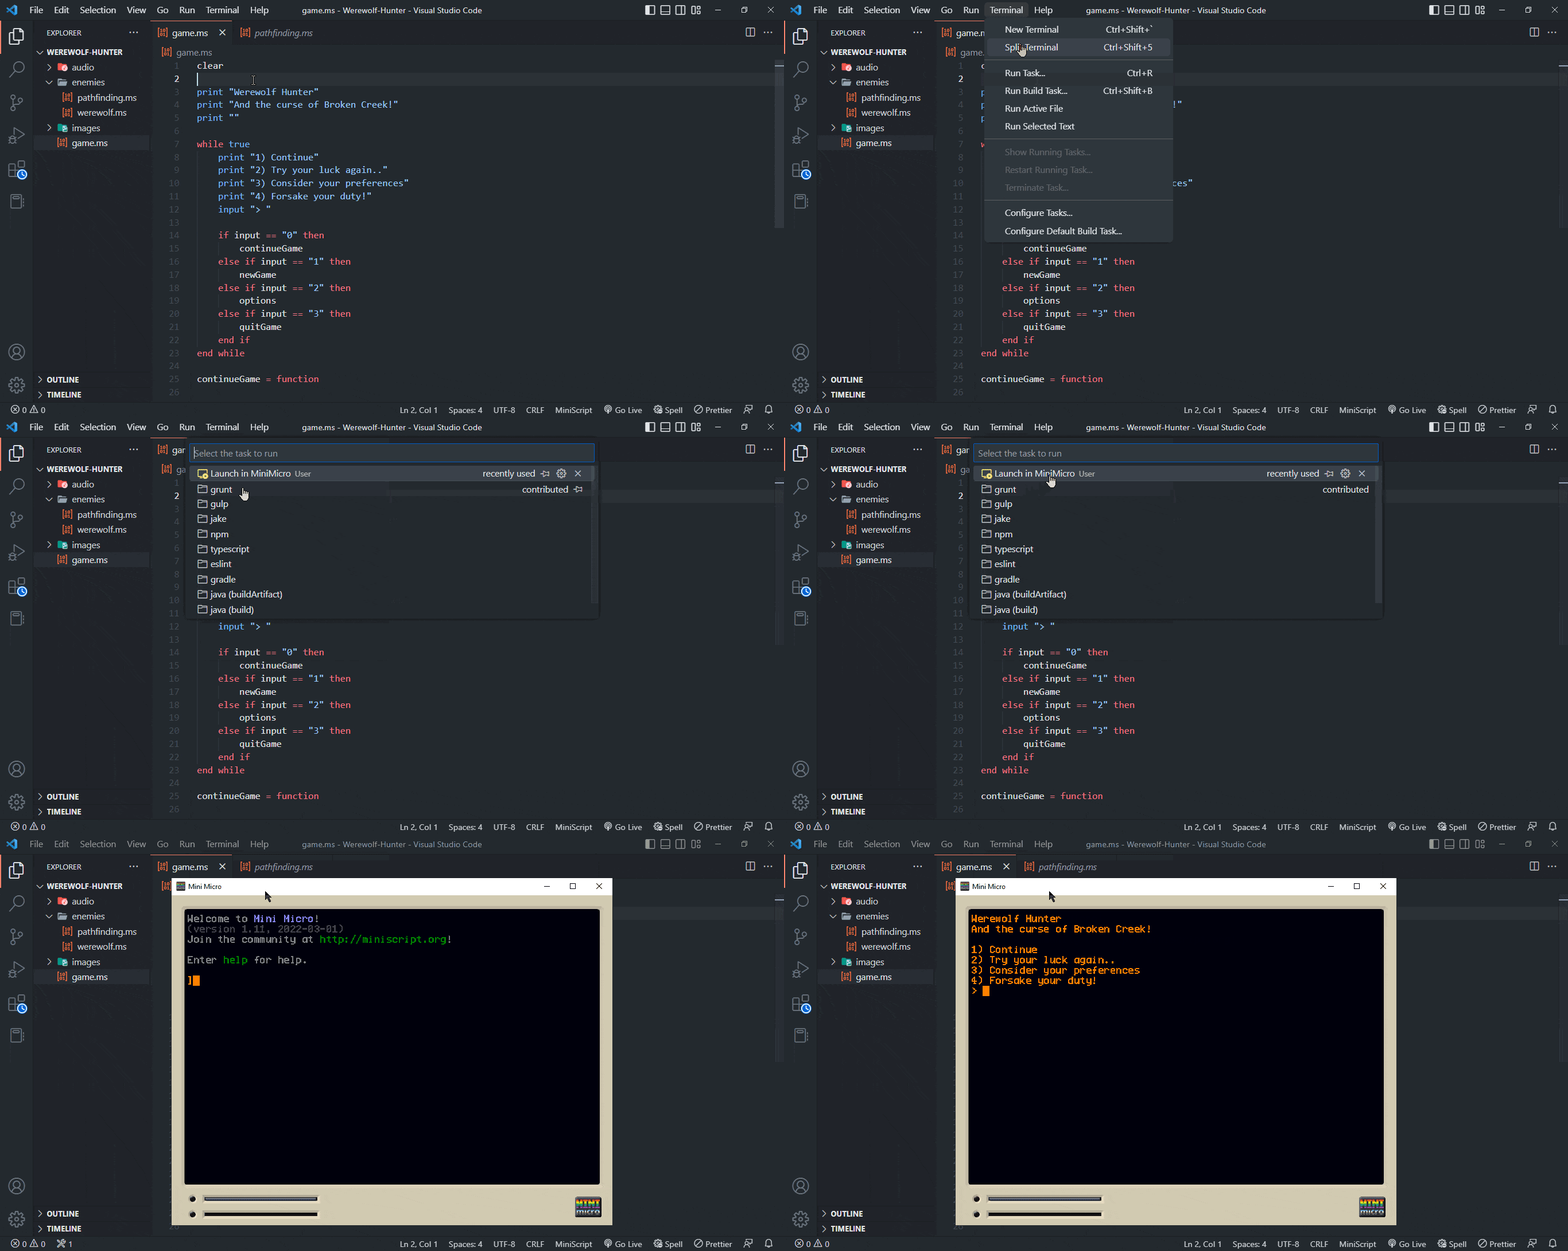
With this set up, you should be able to run the currently open file in Mini Micro by running the "Launch in MiniMicro" task in VSCode.

(Optional) Keyboard Shortcut
As a final touch, I set up a keyboard shortcut that runs that task. This can be done by adding the following to your VSCode "keybindings.json" file. Which can be opened with the "Preferences: Open Keyboard Shortcuts (JSON)" option from the command palette.

Here is the shortcut I have added:
{
"key": "ctrl+r",
"command": "workbench.action.tasks.runTask",
"args": "Launch in MiniMicro"
},
You can of course change the key combination to whatever you prefer.
Conclusion
With all that set up, you should now be able to open and run whichever MiniScript file you want from Visual Studio Code.


